|
|
 |
|
Low Poly Modeling for Real Time Added on: Mon Oct 16 2000 |
| Page: 1 2 3 4 5 6 7 8 |
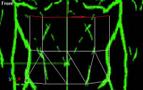
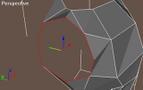
The reason to create anti clockwise rather than clockwise is because the direction you click on the vertex's defines which side the face is created on, if you are going counter clockwise it creates the face facing backwards (towards you) and if you create it clockwise it faces in the other direction.
Just to recap, we are creating the faces by clicking on a point and then another point, and then the last point, in a counter clockwise que although. Look below for a visual demonstration of the process.
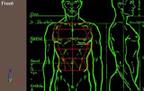
Essentially what needs to be covered is that you need to plot vertices all over the body and then build the faces for them, a simple rule for building the faces is you create one in the center, one to the side and one on the other side, and then one in between both of them.
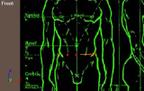 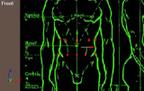 
Once again, the way you build a face is click on create under the face menu, choose three vertices, in counter clockwise order.
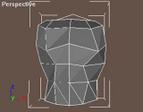
A neat trick here is that you can go to edge mode, select the top layer of edges and hold down shift and move the edges up to extrude them out. You can continue up and create most of the chest, and then move the vertices around to shape the cest better.
This is a speedy process which can save great amount of time and allow you to continue on forming your creation.
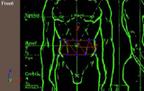
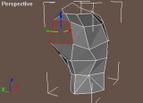
Modeling the chest is rather easy, the secret is to model something at the detail you need trying to keep it neat and tidy, and if you have more polygons at the end, go back and refine areas and make them even more detailed. With the back you can do the smae thing, build the five vertices, build five above them, build the faces and extrude the edges up, or you can build more vertices and continue to build up the body.
Once you have built the back attach the front body and then click on build face and build the faces inbetween the back and the front up, eg. stitch the sides together by building the faces up the body.
|
 |
|
|


