seamless. I welded together each point in the middle of the head
and smoothed the points together. Then I moved each point around
to get rid of the bump that occured between the sides.
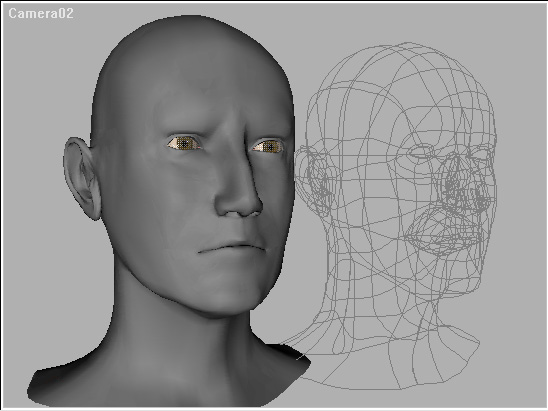
The first step was attach both sides
of the head and make them
seamless. I welded together each
point in the middle of the head
and smoothed the points together.
Then I moved each point around
to get rid of the bump that occured
between the sides.

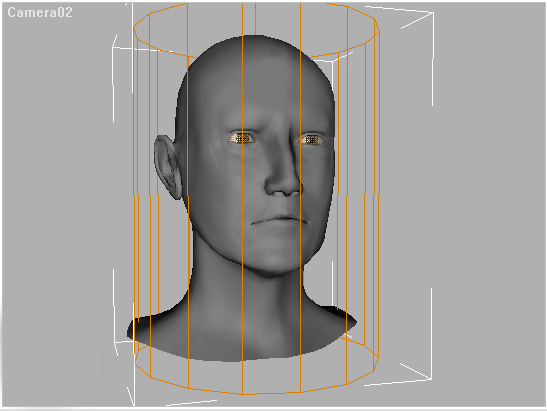
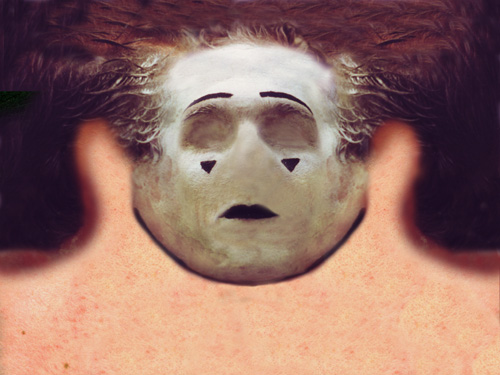
Then cylindrical mapping was used
in order to attach mapping
coordinates to the face.
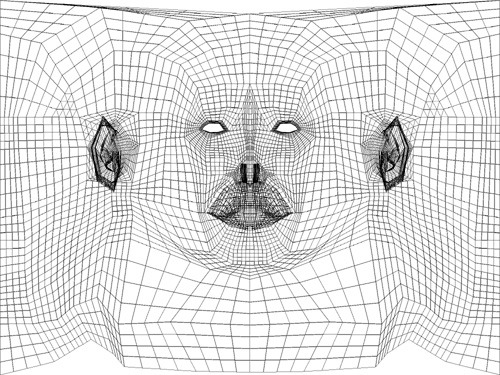
The mapping coordinates made it
possible to unwrap the mesh
into a flat texture image file.
Now that I had this I could simply
paint on top of it and the texture
would fit into the correct place.
I took the side and front photographs
and merged them together
with Photoshop. I tried to erase
as much of the shadows as I could
from the image. This was because
the 3d program creates its own
shadows so the two would interfere.
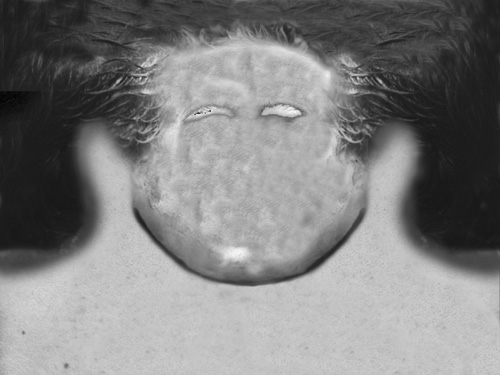
I edited the original texture map
and made the bump map from
it. I tried to make a continuous
rough surface over the face
painted area to get a nice texture.
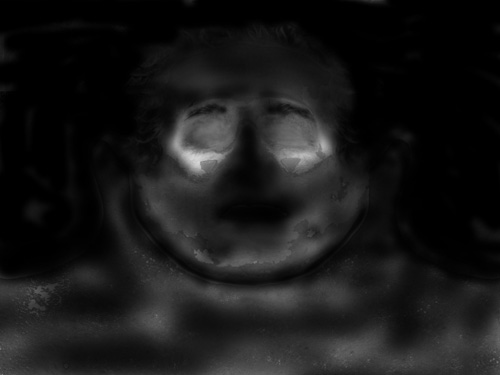
Again I took the original texture
map and edited it. This time
I made the specular highlight map.
The only area I really
wanted it to be shiny was right
under the eyes so I made this
region brighter. I didn't want
too much shine because I
think that leaves the model looking
like plastic. Also I left a
small amount of white on the neck
area for the skin.
The eyeball texture was taken from
a photograph and mapped onto
the pupil, iris and white section.
The cornea was left as transparent
under another transparent layer
that covers the entire eye.
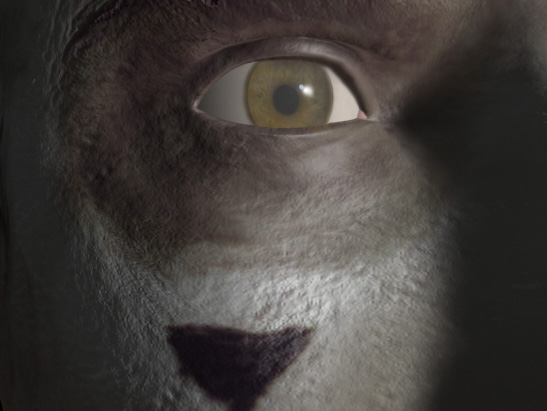
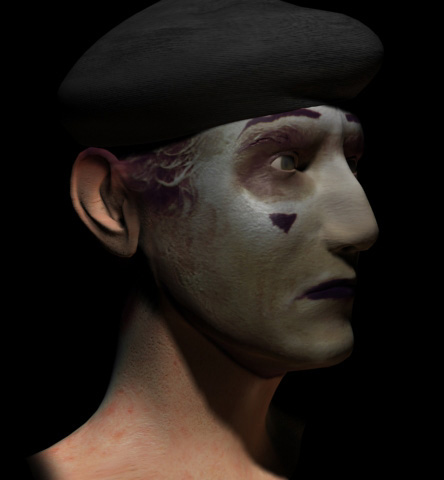
This is the finished result of all
the maps working together.
