| |
|
 |
How to
use HDR images with mental ray |
To follow correctly this tutorial, download
this
scene.
Extract the content to a directory.
|
|
Now, download an HDR image like this.
Mental ray, needs another type of format
(.map) to use the image. To make the conversion, donwload
this
program.
When downloads are finish, copy the program
where you have the image, and open a command prompt window.
Go to the directory where you have the image and the program,
and type this command hdrtoxsi stpeters_probe.hdr
stpeters.map.

|
|
|
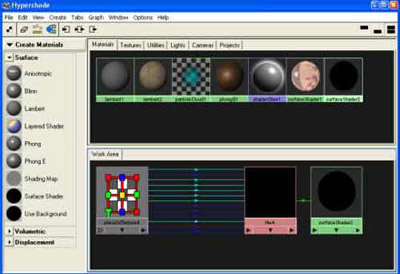
Now, load the scene in Maya, and make
a big sphere and assign it a surface shader
material.
On this material, connect the image .map
to the Out Color.
Maya, will show a warning,
but this is not important. |

|
|
At his time, we have to modify
one parameter of the image.
Go to the image node and open the color
gain in the color balance menu.
In the Color Chooser,
you can see the V slider.
This value will increase or decrease the
light force.
Put a 0.7 value.
If you don't like it, change it later.
|
|
|
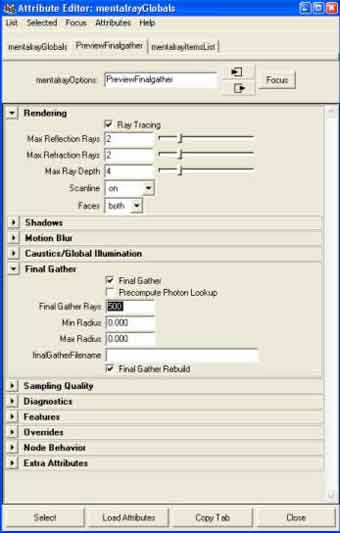
Now, in mental ray's render globals,
choose PreviewFinalGather on Render
Quality.
Go to PreviewFinalGather
tab and add the values that you can see in the image.
The Fianl Gather Rays,
will increase or decrease the quality of the image and the
render time.
A value between 300 and 500
it's OK.
|
Deactivate the Caustics/Global Illumination
options.
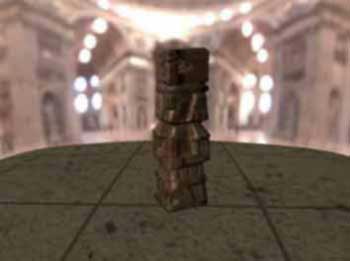
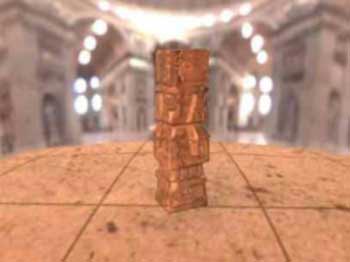
Launch a render with mental ray and see
the results.
|
| |