To follow correctly this tutorial, download
this
scene.
Extract the content to a directory.
|
| In ths tutorial we will
use HDRSHOP.
With this program and the plugin Lightgen
we will get to fake with a sphere of lights, the illumination
of an HDR image.
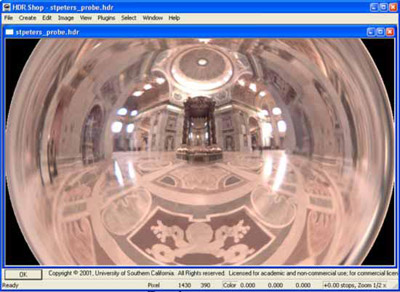
Now, download an HDR image like this.
When downloads are finish, execute HDRSHOP
and the image that you have download.
|
|
|
Like you can see it's an angular image.
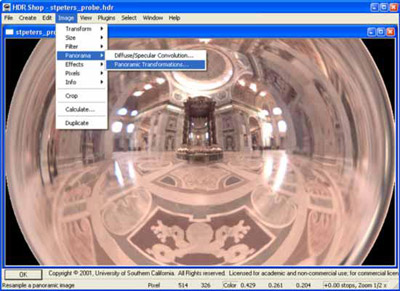
We are going to transform it to a Panoramic image.
Click on Image --> Panoramic -->
Panoramic Transformation. |
|
|
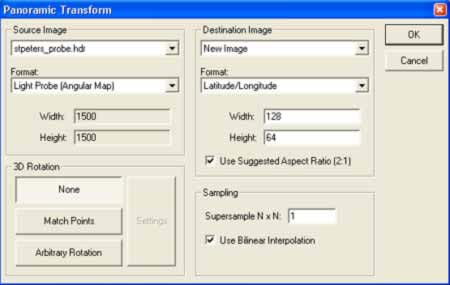
In the new window configure it like in
the image. We are converting the image from a Light Probe
(Aungular Map) to a Latitude/Longitude.
We don't need too much resolution for this
task, and a re values like 128x64 it's OK. |
This is the type of image
that we need to invoque the Lightgen plugin. This plugin
creates a MEL script that creates a sphere of lights according
the image HDR.
We have to click on Plugins --> Lightgen_plugin.
Now, will appear a window like the next.
|
|
|
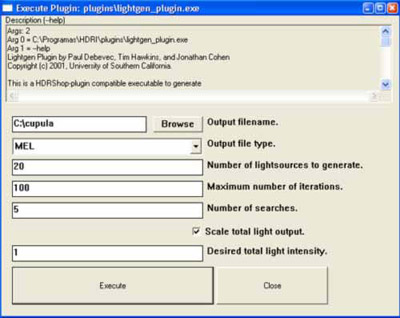
In the window we have to give a name
to the future script and select the MEL format.
Choose the number of lights that you want
(more lights, more shadows, more render time).
Activate the option Scale total light output
and put a value between 1 and 3 in the Desired total light
intensity box.
Click on execute and wait until the program
calculates de result.
|
|
|
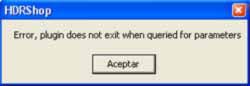
A window like this will appear, but it's
not important. Click on the button and when the program
finish, close HDRSHOP.
|
|
|
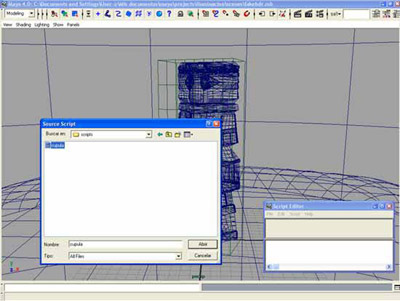
Now, in Maya, with the scene loaded,
go to the script editor click on source script and execute
the MEL created.
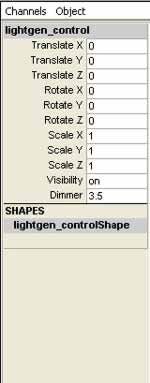
In the workspace will appear a few lights
and a locator (lightgen_control).
|
|
|
Select the locator and adjust the Dimmer
value (higher value, higher light intensity).
To begin, put a value like 3.5.
|
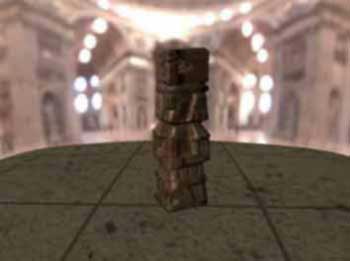
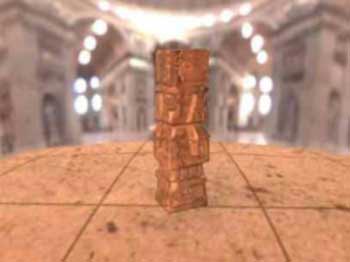
Launch a render and see
the results of faking HDR with maya's native render.
|
